
Zoey Cardigan KAL - Week 6
YIPPEE! We're on the last step of the KAL! And pretty soon you're going to be able to wear your own, one of a kind, made FOR you, BY you sweater. Amazing!
This week, along with finishing your sweater, you get to see some more tidbits of my house. I know it's no secret that most knitwear designers work from home... this week you just get to see more of it. You're welcome. You also get a lot of videos because, well, it's kind of fun for me, but also I hope they're helpful. Not everything is easily done with words and pictures so hopefully the videos are both funny and educational.
Prepping for the Front Band
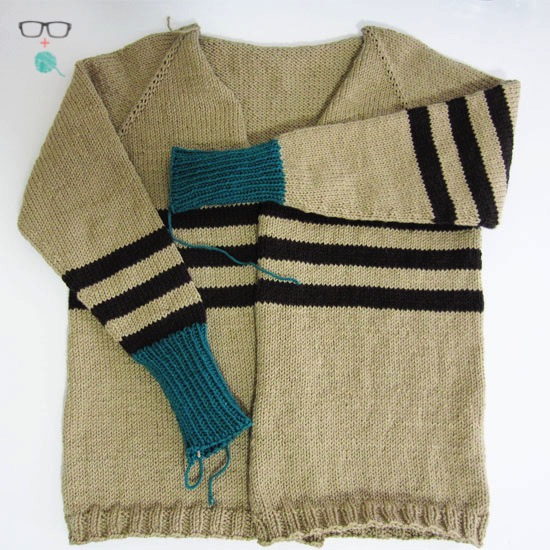
Now that we're all finished with the sleeves and have tried the sweater on a million times to make sure it really is THAT awesome (I assure you, it is) it's time to get this baby finished. And that means picking up the edge stitches for the Front Band. I know picking up stitches isn't everyones favorite task but I think its magic. To get prepared for it I've prepared a little video for you (can you see Zoey?)
Picking Up Stitches
Whether or not you decide to use the steam block method to prepare your edges for pick up, you're still going to have to pick up the stitches. In the following video I talk about how to pick up all the sts. Below I'll talk a bit more about the math of the ribbing.
How was that? Did you love picking up all those stitches? I sure did. But I'm a bit weird like that.
As you picked up the sts you likely noticed that you were picking up with the RS facing. This forces the seam that occurs with picked up sts to be on the inside of the sweater. As a result, your first row of sts will be on the WS.
Now that you have all your sts and are ready to start with the WS facing, you need to figure out how to work your ribbing. It's similar to the bottom hem situation. If you count up all the sts (and it better be an even number) and divide by 4, do you get an even number or a half number?
- If you get an even number, you'll p3, (k2, p2) to last st, p1.
- If you get a half number (i.e.: 46.5), you'll (p2, k2) to last 2 sts, p2
By working in this manner you'll have knit sts at the beginning and end of your hem on the RS.
Binding Off
Binding off the front hem is something that should be done with care. It's the final edge of the sweater so you want to make sure it's not messy. The bind off is done with the RS FACING!
There are two options for binding off, in my opinion, and you can choose which you think better suits you.
OPTION 1 - Going Up a Needle Size (or two): This is the most common recommendation as folks like a nice clean bind off edge and just going up a needle size or two allows for a standard bind off by knitting a st, knitting a second stitch, and then passing the first stitch over the second. NOTE: if you choose this option, ONLY the needle that you bind off with (i.e.: the RH needle) needs to change sizes. The needle you are knitting OFF of can remain the same.
In the case of this ribbing edge, you'll want to work in pattern for the bind off which means you work thus (assuming working in 2 x 2 rib):
Step 1: Knit the first stitch. Knit the second stitch. Pass the first stitch over the second stitch (1 st dec).
Step 2: Purl a stitch. Pass the first st on the RH needle over the knit st (1 st dec).
Step 3: Purl a stitch. Pass the first st on the RH needle over the purl st (1 st dec).
Step 4: Knit a stitch. Pass the first st on the RH needle over the purl st (1 st dec).
Step 5: Knit a stitch. Pass the first st on the RH needle over the knit st (1 st dec).
Repeat steps 2-5 until all the sts are bound off
OPTION 2 - Jeny's Surprisingly Stretch Bind Off: If you are a sock knitter, you're likely familiar with this technique of binding off. It's a bit more time consuming and "yarn consuming" but it provides the stretchiest bind off available and doesn't require a needle change. Here is a link to the Knitty.com tutorial that shows this technique. You would still work the bind off in the rib pattern.
Fixing the Underarm Holes
Yay for more videos! Here comes another one where I show you how I clean up the gap under the arms where the body and the sleeves are joined. Some research has indicated that most people use a modified Mattress Stitch which is what I've done.
Weave In the Ends
If you haven't already done so, you can now weave in your ends. I posted a previous tutorial in the Week 4 post. You can check it out or wing it on your own. There's really no right or wrong way to do it, just a matter of your preference.
Blocking Your Sweater
Ewe Ewe Yarns is a great yarn for wash and wear items. When I made the first cardigan, the one shown on Heather in the pattern, I threw that finished garment into the washing machine (since that's how I'd washed the gauge swatch) and let the machine do all the work for me. If you plan to do this, I highly recommend that you DO NOT put anything else in the machine with your sweater.
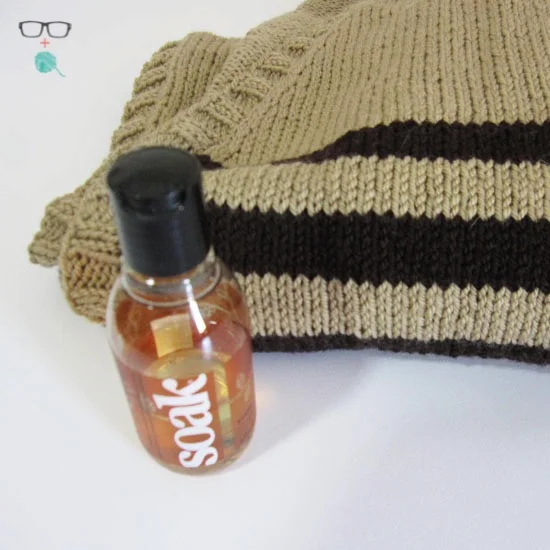
I also highly recommend, that regardless of whether you soak your sweater by hand for blocking or whether you put it in the machine, that you use a Wool Wash. My favorite is SOAK in the "Yuzu" scent, though I have yet to find a smell that I don't love. I do know that I DON'T particularly like the smell of wet wool so I use this every time. If you have sensitive skin, I recommend a scentless version. Anyway, if you plan to put your sweater in the wash, do a COLD LOAD ON A DELICATE CYCLE and add a tsp or so of SOAK to the washer right in the drum.
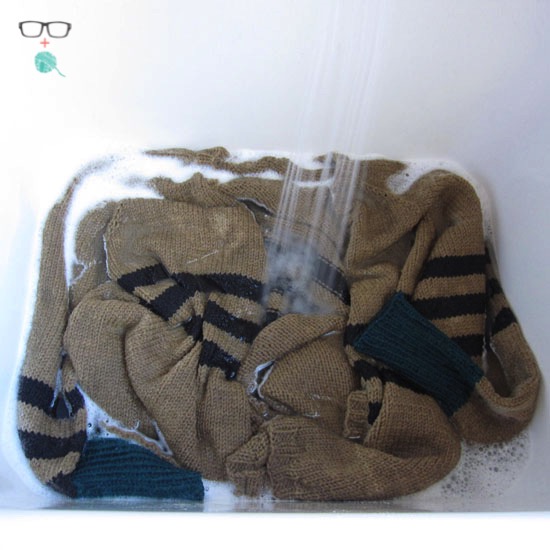
I decided for this sweater to do it in the sink since I did the first one in the washer. So, similar to the washing machine, I run a COLD sink of water and add a tsp of SOAK, throw the sweater in, watch it bubble, and then forget about it. For like an hour. But mostly because I had to go watch Jensen Ackles on Supernatural. Normally I'd only leave it for about 15 minutes. Mmmm... Jensen Ackles...
I digress.
If you're using the washing machine, it'll be ready to go on the blocking mats right out of the machine (it will spin it enough to get the majority of the water out).
If you're putting the sweater in the sink you have to use your Wheaties power to squeeze as much water out of the sweater as possible. NOTICE I SAY SQUEEZE - NOT WRING! I end up pushing the mass of the sweater into the side of the sink to push as much water out of it. It's still pretty darn wet when it comes out of the tub so I grab the largest beach towel I can find and go to town.
Lay the sweater out, roughly in shape, on a large beach towel. If you have the ability to fold the towel, or lay two on top of each other, I recommend it. You're about to get a lot of water out of this.
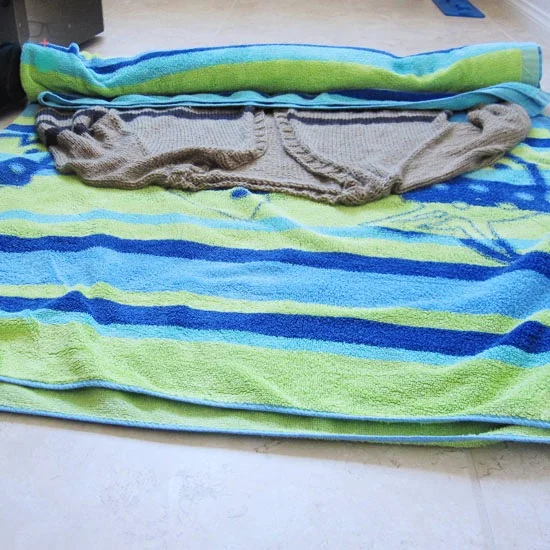
Roll the towel and sweater up like a yoga mat making sure that you have a layer of towel between each roll of sweater.
STOMP THE CRAP OUT OF IT!
OK, not really. But the best way to use our "knitters weight" to our advantage is to go from side to side across the roll squeezing the water out of the wool and into the towel.
Yes, those are my pajamas. And yes, I knit those socks. Also, I didn't notice that my pajama pants are that long and baggy. The things home videos can show you!
Block and Wear
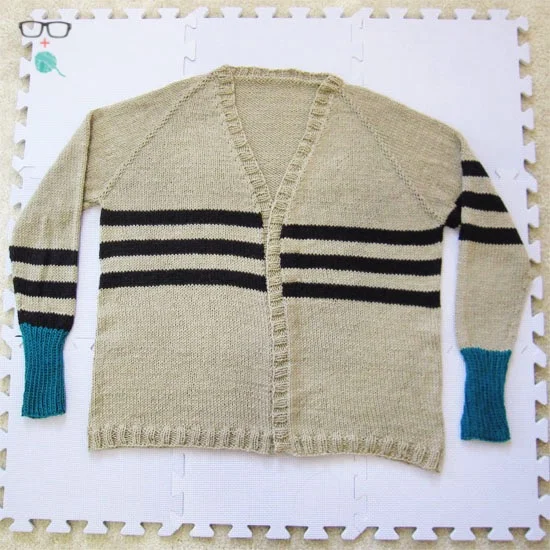
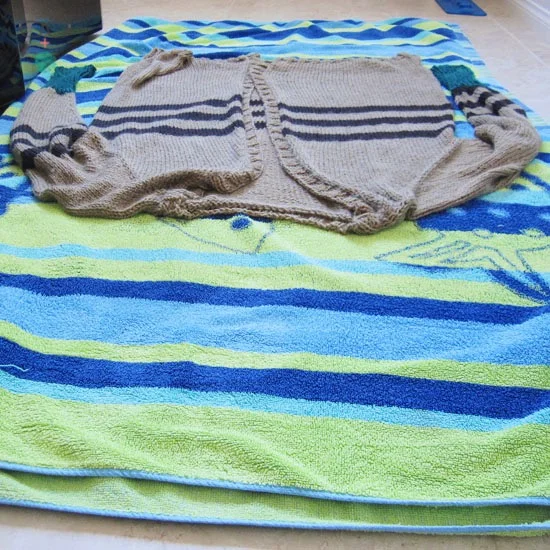
Last but not least, it's time to actually block the sweater out. Much like with our gauge swatches, which we lay out to dry (rather than pinning it out), we're going to just "lay the sweater out to dry". Obviously you're not going to just toss it on the blocking mats and run away. Shape it out to its natural dimensions. Don't try to stretch it or pull it. Unless you want to do that every time you wear it. Just lay it out, preferably under a fan since you want all those layers to dry as quickly as possible. And then voila! Once it's dry, shake it out, wear it out, show it off and love this sweater!
And that's it, kiddos. You just made a sweater. A freaking SWEATER!!! I hope you had fun knitting along with me. I know it's a lot of work to make a sweater and I'm honored you chose to take the journey with me. If you have questions about sweaters in the future don't hesitate to contact me. I'm happy to help you figure things out.
Stay in touch!
To stay in touch with me and the other folks participating in this KAL, join our group on Ravelry, tag me on Instagram and use #zoeycardigankal and #unapologeticknitter.
And by all means, if you have questions, email me at meaghan@unapologeticknitter.com or message me on Rav (SoCalMeaghan), leave a comment here, or leave questions in the Discussion board.
**NOTE**
To make sure I see any immediate questions or concerns on Ravelry please be sure to ear-burn me (despite me being the owner of the discussion board, I don't get notified when people comment unless I'm tagged). So, if it's urgent, please be sure to ear burn me.
To do this enter my username in square brackets and follow it by tying the word "person" in parenthesis: [socalmeaghan](person).
Happy Knitting!!!