
February 2017 KALFH #1: Nightcap Express
What knitter doesn't have leftover yarn lying around?! Yarn you perhaps loved so much you can't bear (bare?! - I never know) to throw it away but is not enough to make a whole new project with?! Well have I got a project for you!
The Nightcap Express hat is all about that - using up leftover worsted weight yarns and learning 2-color stranded knitting!
For homework, I assigned my students to cast-on and work the brim. What you have the advantage of is me giving you some tips about casting on before you actually do it.
Casting On
The cast-on for this project is done using the Long Tail method: http://tinyurl.com/z8s2ojk. I pulled off about 2-1/2 yds and started my cast-on there (roughly one arm-span from finger tip to finger tip).
If you know you are a tight knitter, and cast-ons are constantly giving you problems, you may consider the German Twisted Cast-On. This technique is also a long tail cast on method (i.e.: we pull off a length of yarn needed for the cast on) but allows for a little bit more stretch given how the stitches are placed on the needle: http://tinyurl.com/z54gudy. This cast-on uses slightly more yarn so I recommend pulling off about 3 yds and starting your cast-on there so you don't run out of yarn as you cast-on.
Working the Brim
To work the brim, we cut Color C after completing the cast on (the bright green in the sample) and join Color A (the darker grey/blue in the sample). I recommend leaving a 6-8 inch tail of each color for two reasons:
- So you have a nice long tail to weave in your end with.
- So you have a nice long tail to HOLD ON TO when you join Color A. If you're new to colorwork, you'll appreciate this. You may consider, so you don't lose either color when you begin the brim, tying the tails of Colors A and C together into a slip knot so you know they're both attached. You can then undo this slip knot when you're done the hat and ready to weave in your ends.
Stranded Colorwork
Click to enlarge.
If you're new to stranded colorwork (i.e.: two colors worked on the same row/round of knitting), I recommend starting good practices at home. When I began, and I'm a thrower (English style knitter, holding my working yarn in my right hand) , my instructor at the time allowed me to use my right hand to throw both colors. While this isn't WRONG, it sure is SLOW! And tedious. So I'd highly recommend starting off on the right foot and use this project to teach yourself yarn management.
So! If you are a THROWER/ENGLISH knitter, like me, here's a great video done nice and slowly to show you how to hold your yarns: http://tinyurl.com/jzlgjn3
You'll want to be sure that you CONSISTENTLY hold Color A in your right hand and Color B in your left hand. And if at all possible, try not to get them twisted. When you turn your hat inside out, the Color A floats should always be above the Color B floats (see above image).
If you are a CONTINENTAL/PICK knitter, here is a video that shares three different techniques but is the best one to demonstrate how to hold both colors in your left hand: http://tinyurl.com/h6adob6 <-- skip ahead to the 2:50 mark if you want to focus solely on 2-colors in your left hand.
If you are going to work with both colors in your left hand, make sure that the strand on the left side is Color A and the strand on the right side is Color B. This will keep your floats in the correct order (i.e.: Color B below Color A).
CAVEAT: As a continental/pick knitter, you can absolutely do the work in two hands like a thrower/English knitter, you'll just want to be sure that your Color B is in your right hand and Color A is in your left hand.
Finishing the Hat
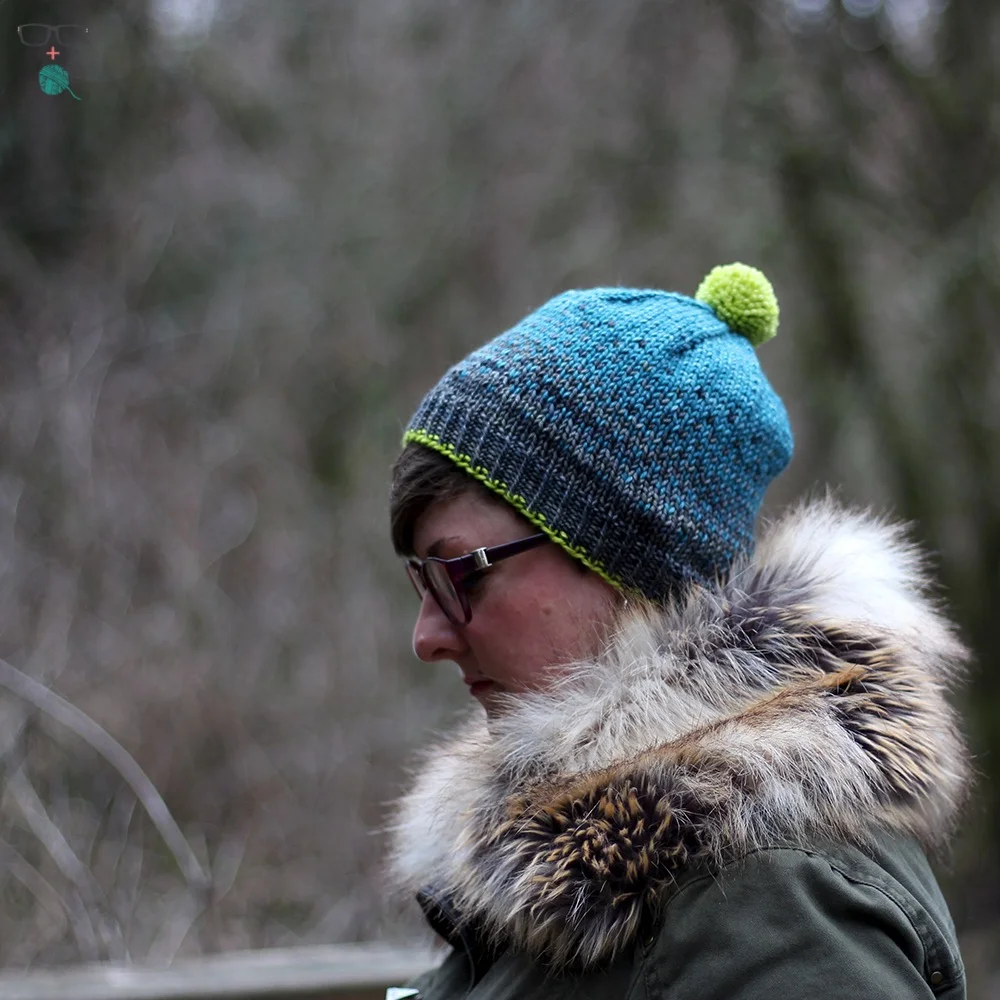
Once the colorwork chart is finished, the rest of the hat is fairly easy peasy. If you'd like a slouchier version of the hat, you can work in Color B until the hat is 7-1/2" tall from the cast-on edge before beginning your decreases. This will, of course, mean you'll need more yardage than recommended in pattern.
I highly recommend wet blocking this hat. It will set the tension of the stitches so you have a nice smooth fabric, and gives a great shape to the crown. I like to blow up a balloon to about 19" circumference and block the hat over the balloon for a nice curved crown. Only after the hat is completely dry do I then attach the pom pom.
IF! You plan to wash your hat in the future, I recommend not stitching the pom pom to the hat. What I like to do is give myself ample tails on the pom pom, thread them through the top of the hat, and tie a snug bow instead of weaving in the ends. Washing a hat with a pom pom on top is a sad endeavor. The pom pom never looks the same once its been soaked.
And that'll do it for February's first project! Next week we'll be amp'ing up our colorwork game with the Passerine Hat by Erica Heuser. Much like today, it begins with a counter-color cast-on so you'll get to practice that technique again (YAY!) but the floats of yarn are much longer so we'll be learning a new technique of catching floats. See y'all next week!
Keep in touch!
If you're on social media, feel free to tag #unapologeticknitter (or use @notsorryknitter on IG) so I can see your amazing creations! I can't wait to KALFH with you!