
March KALFH #2: Alpine Trail Hat
I think 2017 is most definitely the year of hats for me. I feel like I always have one on the needles which is a pretty abrupt change of pace for this sock-aholic! But with the cooler weather and my renewed interest in curling (yep - the Olympic sport) I have an excuse to wear all of these new hats I'm making.
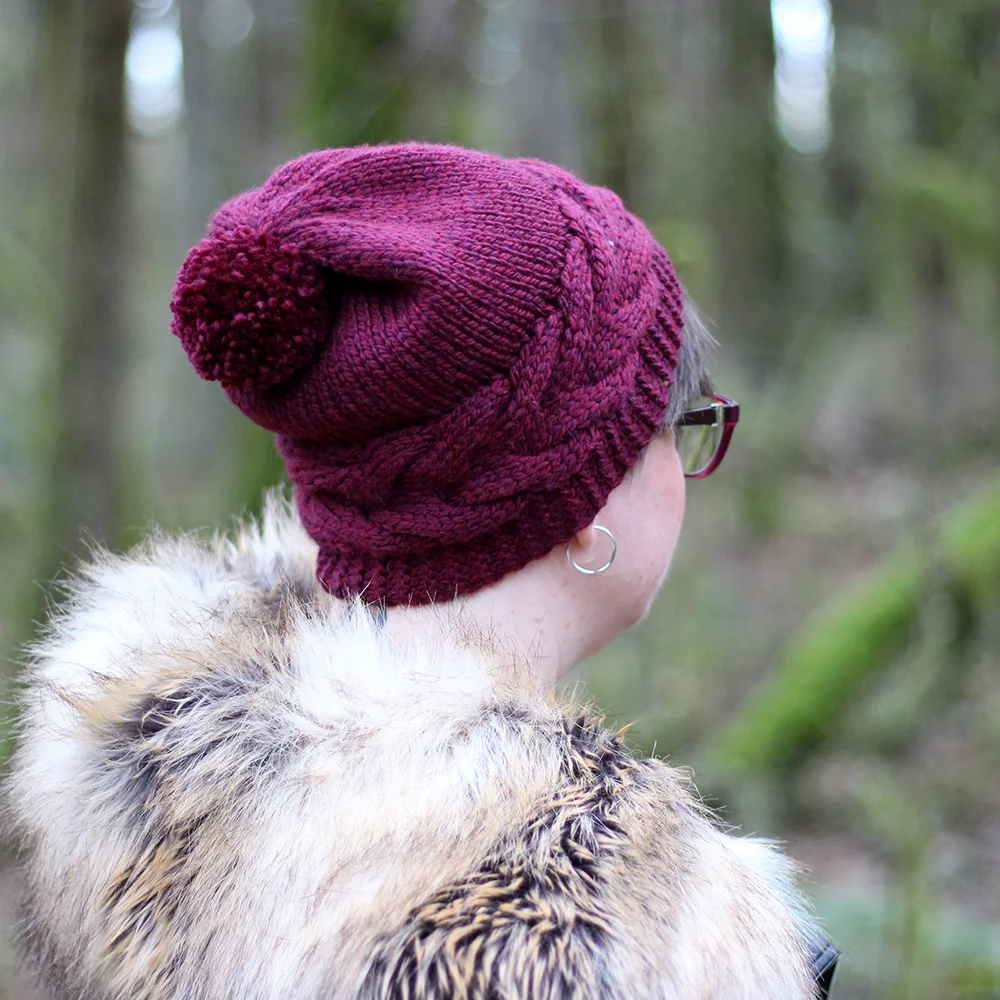
Alpine Trails Hat by Jill Zielinski

Pre-cast on tip!
Before jumping right on in to the cast-on for this hat, wind off 36" of yarn from the hat skein (i.e.: the project yarn, not the waste yarn for the provisional cast-on) and set it aside. We will be using this later!
Provisional Cast-On
I feel like a wizard since I've sorted out a little Provisional Cast-On trick. I tend to use the Crochet Chain provisional cast-on method which, when removed to pick up the live stitches, always nets me one stitch short of the total desired number. To combat that, I cast-on one additional stitch (in this case, 25 instead of 24).
If you're unfamiliar with the Crochet Provisional Cast On, here's a great video to show you how it's done. I recommend crocheting approximately 32 chains so you have more than enough room to pick up your 25 stitches: https://www.youtube.com/watch?v=3OGG0AiJ3XE
BUT! Now I have an extra stitch!
Yep - yep you will! On Row 1 of the instructions for the brim, work the first stitch as a k2tog. This will decrease your stitch count to the right number of stitches, AND means that when you undo your provisional cast-on, you'll have 24 live stitches waiting for you, rather than 23!
Grafting the Brim
When you finish your repeats of the Brim chart, DO NOT work 1 row even. Leave your working yarn attached at the end of Row 8. This means that with the RS facing you, the working yarn will be on the right side of the project.
TIP! If you are new to grafting stitches, I recommend putting a lifeline in to your live stitches before grafting so that if you make a mistake or drop a stitch, it's easy to go back. Just a little hard learned lesson from me to you! ;)
Moving on... Begin by carefully removing your provisional cast-on and placing the live stitches on an additional needle, preferably a DPN or circular needle.
Hold your live stitches from the provisional cast-on parallel to the live stitches on your project needle, with the needle tips pointing to the RIGHT and the RS of the work facing you. The project working yarn will be on the LEFT side with the RS facing you. I know this sounds contradictory to what I wrote above. But now the "Live" stitches, the ones that you just finished working (not the ones that you picked up from the provisional cast-on) will be upside down so it's kind of mirrored.
This is where we're going to graft the cast-on and live stitches together to complete the brim - USING THE 36" OF YARN we cut off at the beginning of the project. Thread this yarn onto a tapestry needle and let's get to grafting!
The pattern says to graft using Kitchener stitch - I've taken it one step further so that you're grafting in pattern - garter in one section, stockinette in another. So here we go!
- Insert tapestry needle purlwise into the first stitch of the Front needle (this is the needle holding your previously provisionally cast-on stitches). Leave this stitch on the needle.
- Insert tapestry needle purlwise into the first stitch of the Back needle ( Leave this stitch on the needle.
- Insert tapestry needle knitwise into the first stitch on the Front needle; remove this stitch from the needle. Insert tapestry needle purlwise into the next stitch on the Front needle; leave this stitch on the needle.
- Insert tapestry needle knitwise into the first stitch on the Back needle; remove this stitch from the needle. Insert tapestry needle purlwise into the next stitch on the Back needle; leave this stitch on the needle.
- [REPEAT STEPS 3 AND 4] 5 more times, ending with Step 4.
- Insert tapestry needle knitwise into the first stitch on the Front needle; remove this stitch from the needle. Insert tapestry needle purlwise into the next stitch on the Front needle; leave this stitch on the needle.
- Insert tapestry needle knitwise into the first stitch on the Back needle; remove this stitch from the needle. Insert tapestry needle knitwise into the next stitch on the Back needle; leave this stitch on the needle.
- Insert tapestry needle knitwise into the first stitch on the Front needle; remove this stitch from the needle. Insert tapestry needle purlwise into the next stitch on the Front needle; leave this stitch on the needle.
- Insert tapestry needle purlwise into the first stitch on the Back needle; remove this stitch from the needle. Insert tapestry needle knitwise into the next stitch on the Back needle; leave this stitch on the needle.
- [REPEATS STEPS 8 AND 9] until all stitches are grafted.
Continuing with the Body of the Hat
Now you have what looks like a really lovely headband with the working yarn still attached. Here's where this headband starts to look like a hat! With the working yarn, you're going to start picking up one stitch for every slipped stitch around the circumference of the brim. Isn't it nice that those slipped stitches are so easy to work with?! I love it! It's actually one of my favorite details of the project - its so EASY!
The remainder of the hat is a snap! You can work it just as written. My only notes, and these are just personal preferences, are as follows:
- I worked the hat (I made a size medium and my head is 22" circumference) to only 7.5" from the cast-on edge rather than the length noted in the pattern. I just prefer a slightly less slouchy slouch hat.
- I made a smaller pom pom. I have made a 4" pom on other hats before and I find it so heavy that it pulls the hat too far back. So I made a 2.5" pom pom instead. My smaller pom pom took roughly 15g of yarn (approx. 20 yds). So if you make a larger pom pom, be sure to reserve enough to make an amazing pom!
Blocking
I wet blocked my hat over a ballon blown up to a 21" circumference. Please be sure to block your hat BEFORE you attach the pom pom. Nothing is sadder than a wet pom pom. Once the hat is completely dry, attach the pom and rock your new hat! I know you'll love it!
Keep in touch!
Thanks for knitting along with me on the Alpine Trail hat! If you're on social media, feel free to tag #unapologeticknitter (or use @notsorryknitter on IG) so I can see your amazing creations!