
April KALFH #3: Washed Ashore hat
If you follow me on Instagram, #yearofhats is probably the hashtag I should be using! 2017 is proving to be a hat-filled year and I'm pretty darn excited about that.
Washed Ashore by Lesley Anne Robinson
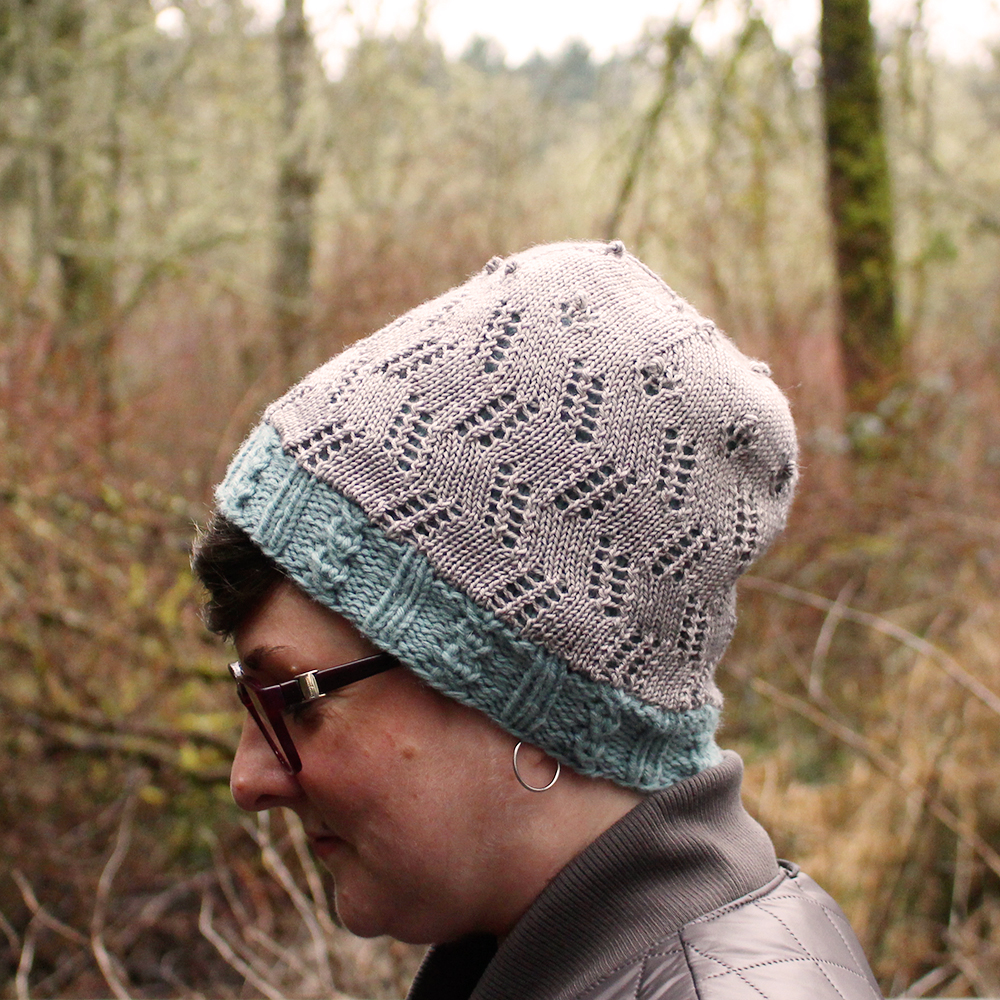
Basic... but not!
As knitters, I feel like we can appreciate the time and effort that goes into every project we create. But sometimes, its relaly nice to find a project that flies off thte needles. And weirdly enough, this lovely hat does just that!
Worked in two layers, you'll blaze through the inner hat and marvel at the beauty of the outer hat.
Tips for the Inner Hat
- You basically knit two hats - but the inner hat is worsted weight so it knits up in just hours. It seems crazy to make an entire inner hat of which you only see the brim, but it's worth it once you work the outer layer and you can see the inner hat color popping through the lace work.
- I made the size small and am modeling it above on a 22" circumference head.
- When you complete the inner hat, clip a removable marker to the brim at the beginning of round so you know where your beg of round is for beginning the outer hat.
Tips for the Outer Hat
Lesley has provided a great video on picking up the stitches which is super duper helpful! Using the removable marker that you clipped to your brim when you finished the inner hat, begin picking up the stitches per Lesley's video.
- I found it much easier to use a crochet hook to pick up 4 stitches at a time and place it on the US 3 needle.
- For both sizes, you can pick up 4 stitches for every 3 on the original hat: pick up 1 stitch for each column of knit stitches you see, and then create a 4th by picking up a stitch between columns every 3 sts.
- For size small, you'll get exactly the right number of stitches if you work in this 4 for 3 pattern.
- For size large, you'll be a 6 stitches short. So work 1 additional round of *k23, kfb; rep from * to end to get to the required 150 sts.
- Once all the stitches are picked up, use a tapestry needle to thread the tail of the picked up stitches to the inside of the hat for weaving in later.
- I found it easier to work the outer hat with the inner hat turned inside out and hanging down, outside the outer hat.
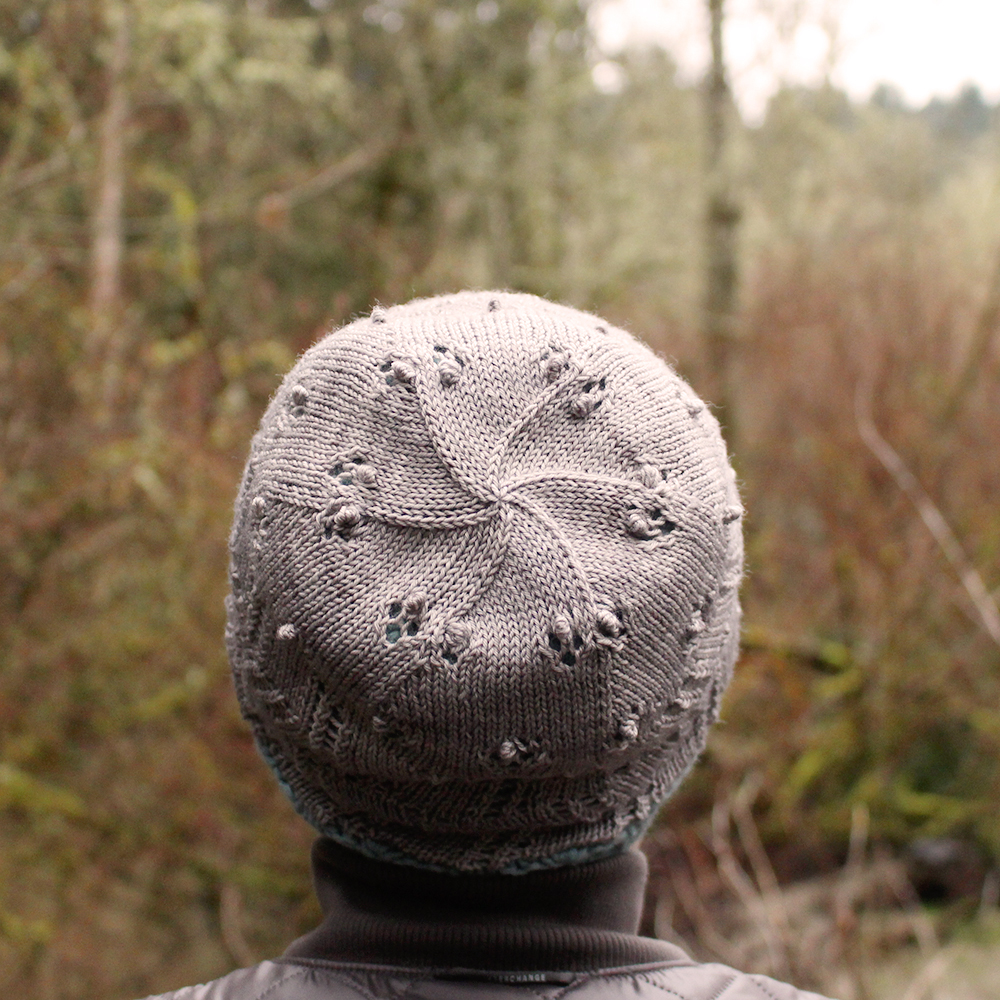
- BUT! When its time to cinch the top of the outer hat closed, push the inner hat back up inside the outer hat so you can attach the two layers of hat at the top by pushing the tail of the outer hat through the top of the inner hat, and weaving in the ends.
Blocking
Due to the thickness of this hat, and therefore it's lack of "slouchiness" I recommend wet blocking this hat to your heads dimension, being careful not to block out the brim.
So, I soaked the hat and squeezed the water out without wringing or twisting. Then I blew up a balloon to 22" circumference and put the hat over the balloon. The beautiful part of that is that the hat will fit my head comfortably, but the balloon is narrow enough at the bottom that it won't stretch out the brim. Let the balloon rest on a mug or glass and dry completely. It'll take a little longer than normal since it's 2 layers thick. I "helped" mine dry by placing the cup on top of my floor heating register. Dried in no time! ;)
Keep in touch!
Thanks for knitting along with us on this project! If you're on social media, feel free to tag #unapologeticknitter (or use @notsorryknitter on IG) so I can see your amazing creations! I can't wait to KALFH with you!