
Zoey Cardigan KAL - Week 3
Hoo boy - who is tired of crazy long purl rows? *jumping up and down, waving* Me, me! I'm ready to start something a bit more exciting than the increases. So let's get to it, shall we?
This week we're going to divide for the sleeves and get started on the body of the sweater - with a NEW color! Yay! To "divide for the sleeves" we're actually going to be separating out some of our live stitches from the sweater and putting them on hold to be used later when we knit the sleeves.
We have two options for reserving our sleeve stitches. Many of the steps are the same, but the instruments are a bit different so I'm going to share both with you. Each has pros and cons so make the choice that best suits you (or based on the tools you already have available).
But before we get to dividing the sleeves out, we're going to use our "Stripe" color to get to the first marker. So, cut the main color yarn, leaving a tail for weaving in, and grab your new color (mine is Chocolate.... yummy!). If you've decided to use multiple colors for the stripes, as I know at least one of you has, make sure you've planned out what order your stripes will go in. You'll want to use the color for your first stripe here.
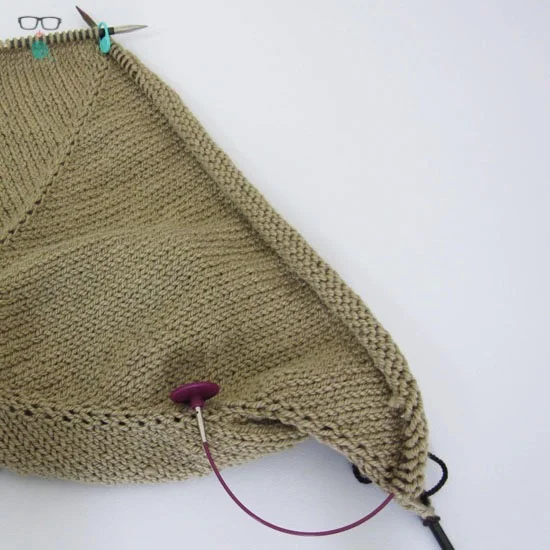
Per the first instruction in the "Divide for Sleeves" section of the pattern, we're going to knit to the first marker (using your new color). We're going to remove this first marker and this is where the magic starts to happen (at least I think dividing for raglan sleeves is magic).
Dividing for Sleeves - Option 1
The first option is to use an interchangeable needle, its cable (at least 24" is recommended) and the little screw-on stoppers that come with the interchangeable cables.

If you're already using your only size 8 interchangeable needle, no sweat - go down a needle size for this exercise. Also - this was really hard to photograph for some reason. This is the Knit Picks Harmony I think... it purple wooden needle in any case.
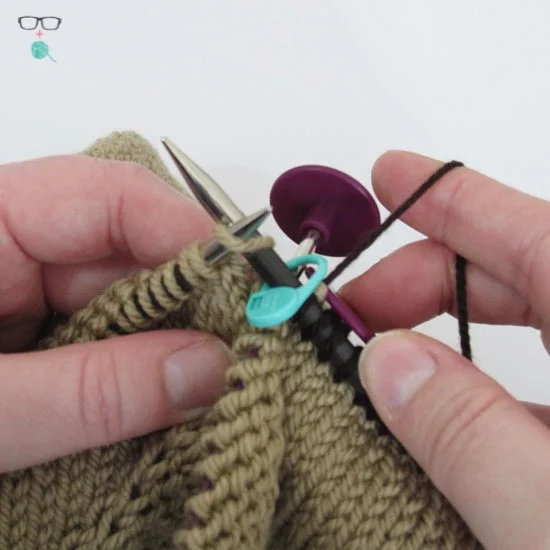
Letting go of your main needle from your right hand (i.e.: the needle you're knitting the sweater with) and picking up this interchangeable needle, you're going to start slipping your sleeve stitches - all of the stitches between your first and second markers - PURLWISE from the LH needle to this temporary needle.

Here are the first 7 sts of the sleeve on the temporary needle.
Slip ALL the stitches until you get to the next marker. Pull the cable through until all the stitches are safely on the CABLE. Then remove the needle from the cable and place the second stopper on the cable. Now all those little stitches are safe and sound, ready to become a sleeve.
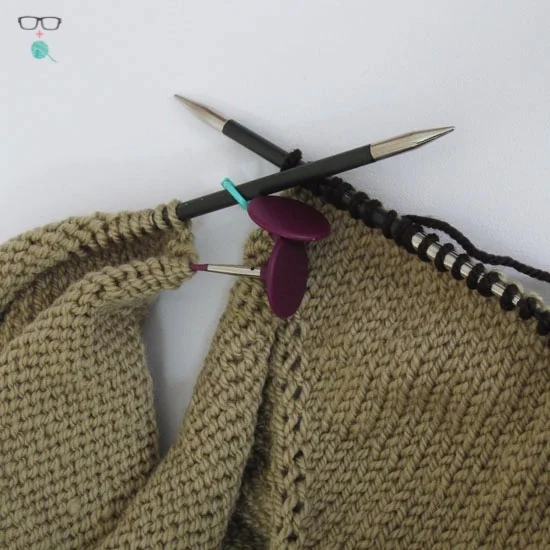
The second stitch marker is going to remain in place to use as a reference point for the "Front of the Sweater" stitches. So here's the "con" of working with this interchangeable cable and these stoppers - there's a whole lot of junk in the way of knitting the next stitch. Is it insurmountable? No, not at all. This is actually MY preferred way of saving stitches since when it's time to pick up the live stitches to make the sleeve they're already on cable - I can just screw a needle onto the end of the cable and knit on.
So, to continue the back of the sweater, you're just going to continue knitting as if that gap isn't even there (in the last week of the KAL I'll walk you through closing it up).
See? You've got a marker and those stoppers to contend with? I tend to push the stoppers behind all of my work so I don't end up wrapping my working yarn around the cable of the markers. THAT'S super annoying.
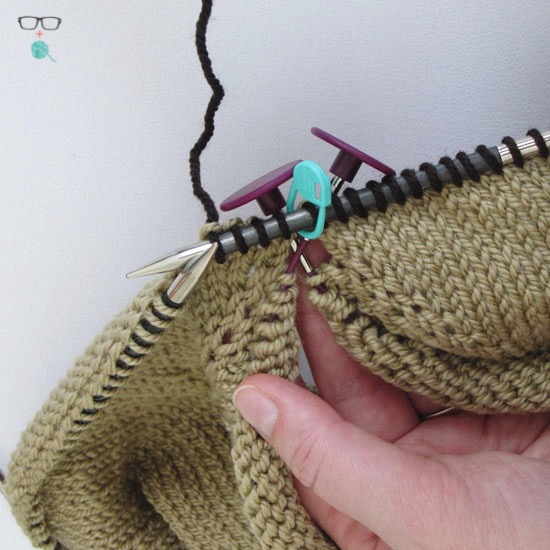
See - safely past the separation. You'll notice that there's a bit of a gap between the stitches on the holder and the row you just knit. That's a-ok. We'll make sure there's no gap once the sweater is done. You'll repeat these steps a second time when you get to the next marker.
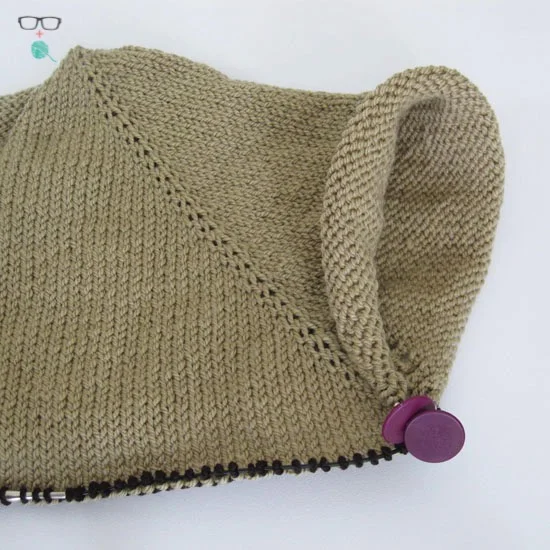
Here is the sleeve - safely on the cable.
Dividing for Sleeves - Option 2
If you're not an "interchangeable needle" kind of person, or you don't have any spare cables lying around, you can use the Waste Yarn method. The pro of this method is that you're not contending with all the hardware issues you deal with in the cable method. The con is that you DO have to pick up all of the live stitches from the yarn and put them onto a needle before you work the sleeve. Neither is better nor worse than the other - just a preference.
So, to work this method you'll want a tapestry needle, around 24 inches of SMOOTH waste yarn (i.e.: please no mohair or fuzzy stuff... you'll kick yourself if you do) in a DK or worsted weight.
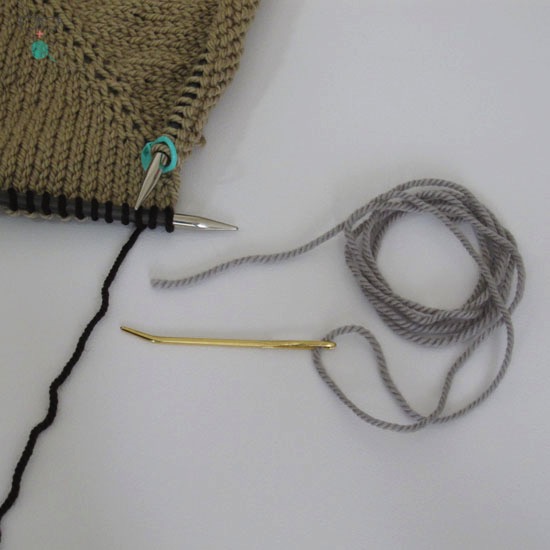
Yay for Wooly Worsted scrap yarn lying around!
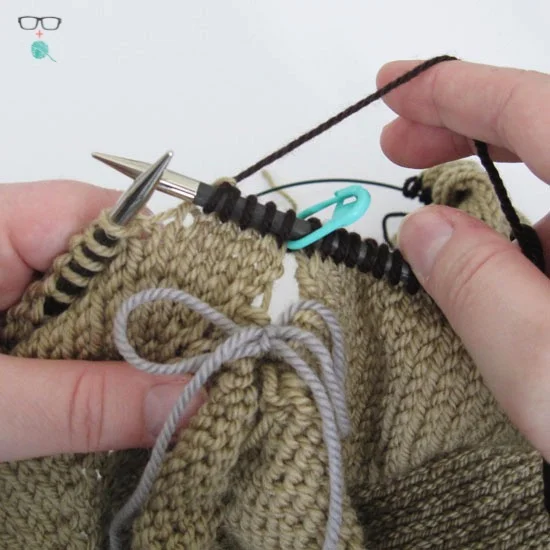
Much like our previous method, we're going to use the tapestry needle like a standard knitting needle - we're going to feed the tapestry needle through the live sleeve stitches, PURLWISE, and collect all of the live stitches on the waste yarn.
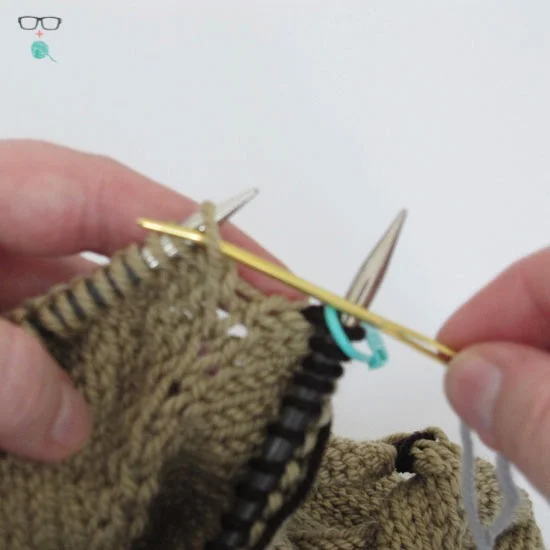
I know it's blurry - but hey, at least the background is completely in focus!!!
Continue across all of the sleeve stitches. Once all of these stitches are on your yarn, tie it up into a pretty little bow. NOT a knot. Please! I don't want you to have to cut the waste yarn close to your work when it's time to pick up the stitches. You want the live stitches to have plenty of room to move around when it's time to pick them up.
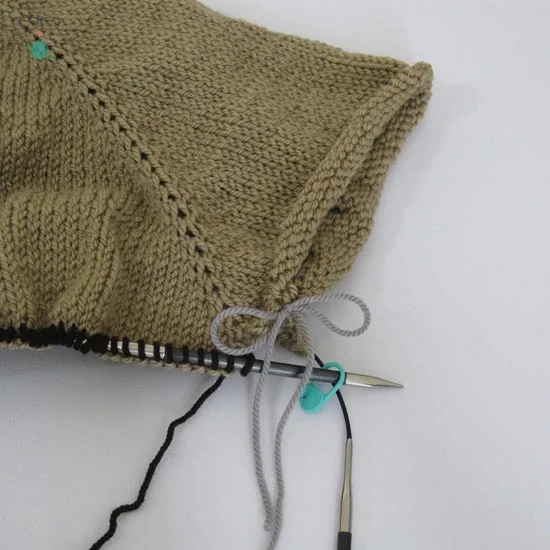
Like before, keeping one marker in place, we're simply going to knit past the bow and continue on to the end of the sweater.

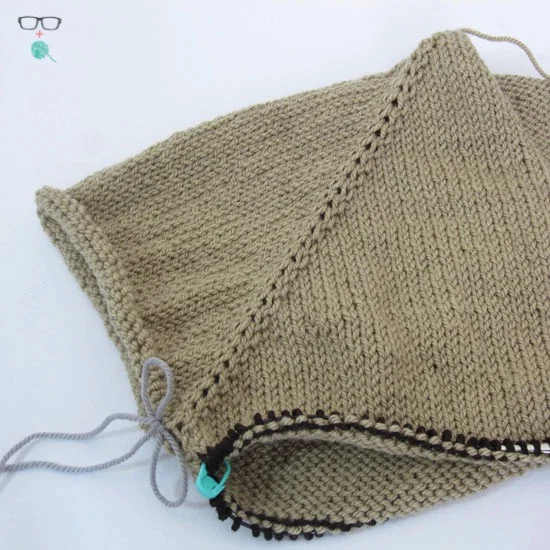
And now you have sleeves! Feel free to try on your sweater at this point - be sure to post a funny selfie in your mini-sweater on Instagram. Please! It'll make me smiiiiiiiile. :)
Work Those Stripes!
To continue the shaping of the v-neck you're going to continue to work an increase every other row until you reach the desired quantity per your size. However, instead of increasing at both the front and sleeve end, you'll only be increasing at the front edge.
AT THE SAME TIME - you're going to work your stripes. So after 6 rows of your Stripe color, you'll rejoin your Main color and work your shaping. Every 6 rows you'll change colors.
ONCE YOUR SHAPING IS DONE - things get really easy! You'll knit even (i.e.: no more increases or decreases), alternating between the Main color and the Stripe color every 6 rows until you have 3 Stripe-color stripes. You can continue knitting even for about 7 inches, or longer if you'd like, remembering that we've allowed 2 weeks for the body portion of the sweater.
To Break or Not to Break - That is the Question
Given that you'll be changing colors every 6 rows you have the choice whether to cut your working yarn between each color change or not. I happen to know that I am a looser-than-average knitter, however I am a tighter-than-preferable "yarn carry-er". I tend to pull my yarn tight when I'm carrying it up the side of my work so I end up with an edge that has no stretch. No bueno! So, while I know we all hate weaving in ends, it might be preferable to having a sweater edge that puckers because the yarn is too tight.
Stay in touch!
To stay in touch with me and the other folks participating in this KAL, join our group on Ravelry, tag me on Instagram and use #zoeycardigankal and #unapologeticknitter.
And by all means, if you have questions, email me at meaghan@unapologeticknitter.com or message me on Rav (SoCalMeaghan), leave a comment here, or leave questions in the Discussion board.
**NOTE**
To make sure I see any immediate questions or concerns on Ravelry please be sure to ear-burn me (despite me being the owner of the discussion board, I don't get notified when people comment unless I'm tagged). So, if it's urgent, please be sure to ear burn me.
To do this enter my username in square brackets and follow it by tying the word "person" in parenthesis: [socalmeaghan](person).
Happy Knitting!!!